Friday, November 17, 2017

HomeMade Cashew Butter with Vanilla Bean...


I have been totally obsessed with making my own nut~butters lately. Not sure if it's because it's way cheaper than buying ready made or if it's just a fun science project.
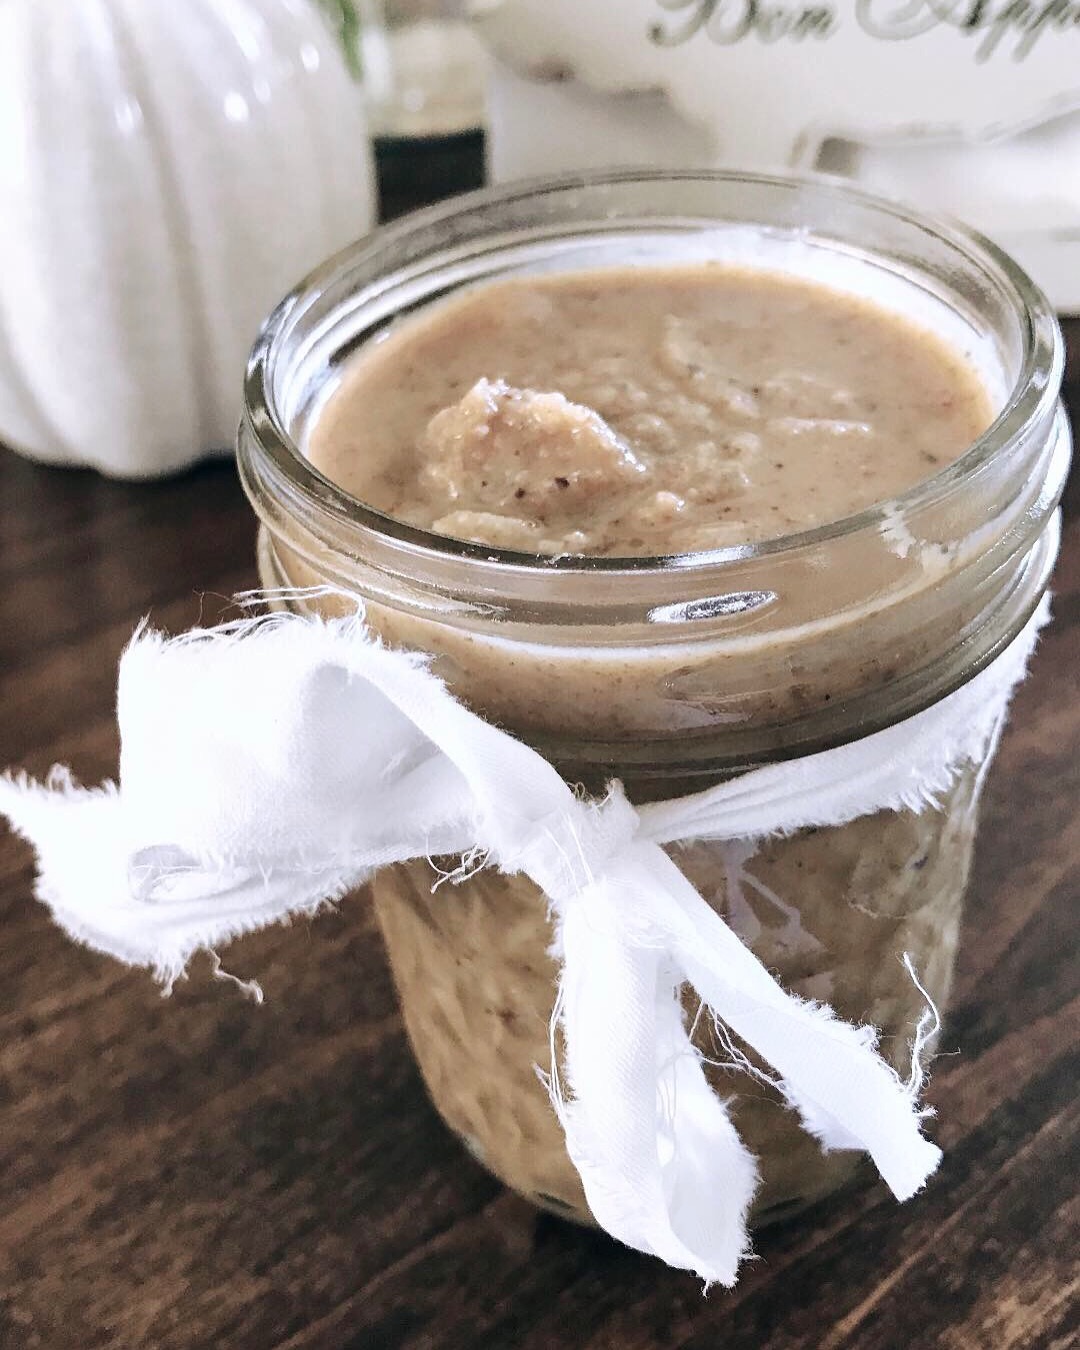
My first attempt was with a walnut butter, but now I have to say, I like this cashew butter better. Try saying that a few times in a row! Cashew butter better cashew butter better cashew butter better... 
Ok that's enough! You get where I was going with that. Right?
Maybe the reason I like this butter better is because cashews definitely don't have that lingering after taste that the walnuts have.


This is a fast ready in minutes recipe. There are just five simple ingredients!

Ingredients

16 oz raw whole cashews, mine were from Trader Joe's
2 tbs. melted/organic coconut oil
1/2 tsp. vanilla extract
1 vanilla bean, all the seeds from inside
1 pinch of pink Himalayan salt

Instructions

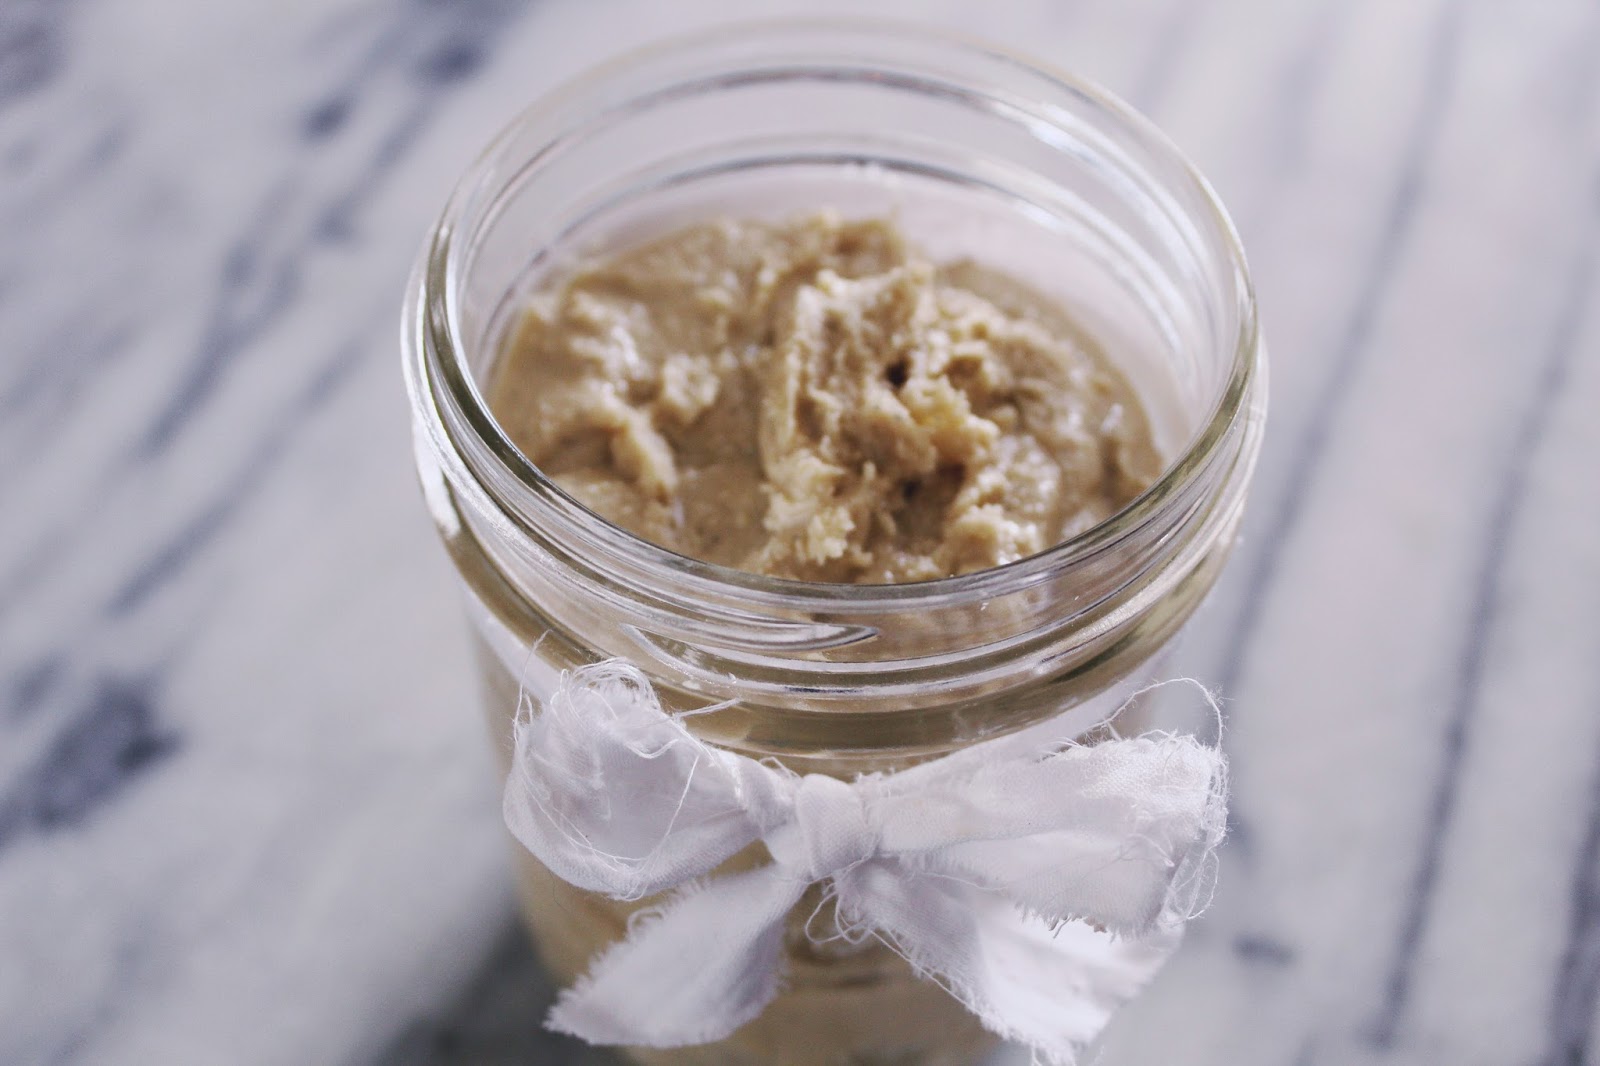
In a high~powered blender (I used a commercial strength food processor) blend all ingredients to the desired texture. 
Total time for me was about 15 minutes. Stopping periodically to scrap the sides and do a little taste testing. This is where you can add more coconut oil, if your butter seems a little dry and more Himalayan salt if you think it's needed.

Yields

Approximately 12 oz or 1.5 cups


Notes

You can use roasted cashews, if you prefer. The flavor will be a bit more intense than using the raw cashews.

Store in airtight container in refrigerator.

 I actually keep ours on the kitchen island because we like that smooth creamy texture better! I'm also guilty of just eating it right off the spoon! Yum...

It will last longer in the refrigerator, but ours goes pretty quickly around here. So no need to refrigerate. 

It will stay good for one month on your counter or three months if kept in refrigerator.

Using the seeds from a vanilla bean really does give it an amazing flavor. Almost like a cookie dough  flavor! Omg yum...


Hope you will enjoy this cashew butter as much as we do!


Saturday, November 4, 2017

Creamy Kale & White Bean Soup...


I know we live in Florida, but it's still Fall ya'll!  So we must do Fall things. Like making homemade soups, burning yummy smelling candles and looking through holiday decorating and baking magazines. Oh... That makes me very very happy!

This is a super fast and very easy recipe!

Ingredients

4 Tbsp. olive oil
1/2 of a large yellow onion, chopped
4 cups kale, chopped and stems removed
5 cups low~sodium chicken broth
1 can cannellini beans, rinsed and drained

Directions

Heat olive oil in large cast iron skillet over medium heat. You can also use a large pot if you don't have a cast iron skillet.

Add your chopped onion and sauté until tender.

Add your kale, low~sodium chicken broth and simmer until the kale wilts.

Add your cannellini beans.

Then puree in blender or food processor. This is where you can taste and season to your liking with salt, pepper, your favorite seasoning blend or I used a touch of my Paula Dean's House Seasoning. If you think it's a bit too salty just add a little water. Easy Peasy!

Pour into bowls and garnish with pumpkin seeds.

Serves 4


Thursday, October 26, 2017

You Need to be Dry Brushing...


I like to read a lot about skin care and beauty products. I'm seriously obsessed with all things girly! Just ask my sweet hubby. Our bathroom looks like a department store cosmetic counter and our shower looks like you stepped into a spa with many many choices of shampoos, conditioners, scrubs, soaps, facial cleansers, shaving creams, loofas, razors and much more!

So when I started reading about this thing, called Dry Brushing. I knew I had to try it!  My next step was to order one from Amazon This one is perfect, if you have someone to get your back for you, but not everyone does. This Dry Brush with Removable Handle would really be the perfect one to purchase. I'm thinking that I will be ordering that one very soon. The hubby is not always around when I want to treat my skin to a little brushing.

When I stumbled across the article about Dry Brushing I was totally amazed at the benefits it provides to you. Not even mentioning how wonderful it feels! So lets talk about those benefits for a bit.

So What is Dry Brushing?

It's exactly what is sounds like... You're brushing your skin in a particular pattern with a dry brush, preferably right before you shower.

The Many Benefits of Dry Brushing.

Stimulates the lymphatic system, which plays a major role in our immune system. When you dry brush your skin you are improving your circulation which helps in delivering oxygenated blood to the skin and other organs to help them do their jobs better. In return for this it helps the body detoxify naturally, which helps to prevent and fight disease.

Exfoliates and improves the appearance of the skin. Dry Brushing removes the dead skin and impurities from the surface of your skin, clears your pores and stimulates the natural production of sebum, resulting in smoother more radiant skin. Who doesn't want that?!

Regular Dry Brushing helps reduce the formation of cellulite by stimulating the circulation. This helps distribute the fatty deposits throughout your body.  Here's the key words "helps reduce"  NOT "get rid of".

Improves digestion and kidney function.

Stress relief.

Choosing the Right Dry Brush.

Make sure you choose a natural bristle brush not synthetic. Remember after using mine for awhile I realized it would have been a much better idea to have chosen a brush with a long handle.

How to Dry Brush your Skin.

Dry Brushing should be done daily for best results. Mornings are best because the brushing will energize and invigorate you. Always brush before your shower or bath.
Start at the bottom of your feet making small circular movements with your brush, gradually working up your legs. You can do circular movements or long brush strokes, whichever you prefer.
It is important to always brush towards the direction of your heart.
Repeat the same process with your hands (starting with the palms) and arms.
On the stomach, back and armpits make circular motions.
Don't forget the backs of your knees and neck.

Notes and Thoughts on Dry Brushing.

Always brush on dry skin.
My skin is slightly pink after brushing. If your skin is red or it stings use less pressure (avoid scrubbing).  Remember Dry Brushing should never hurt!

You should use gentle pressure while brushing towards your heart.  You can brush for as long or as little as you like. The average brushing session can be anywhere from two ~ twenty minutes.

Be sure to apply lotion after your shower to put moisture back into your skin.


Happy brushing and please let me know if you try this or have tried it. I would love to hear your thoughts or opinions on this subject.


Wednesday, October 18, 2017

HomeMade Walnut Butter...


For awhile now, I have been really wanting to make my own almond, cashew and/or walnut butter. 

I know a lot of people (my husband being one of them) are not big lovers of walnuts. They have this lingering after taste, that you just might not like. I don't mind it, but I do know what they are talking about.

But here's the thing about walnuts... That make them a fabulous nut to choose. Walnuts are rich in Omega~3 fats and antioxidants! Walnuts also have the ability to improve your metabolism, help in controlling diabetes and help as a mood booster.  I'm thinking we all could use a little bit of help in that department. Because life can be really hard at times. 

You can't go wrong in choosing walnuts to eat as a snack, sprinkle on a salad or just making a walnut butter to go on your apples or toast in the morning. Maybe even try spreading walnut butter on a rice cake with chopped apples on top and sprinkled with cinnamon. Yum!


The little hand~stamped peanut butter knife is available in my Etsy Shop!


This is a fast ready in minutes recipe. There are just five simple ingredients!

Ingredients

2 cups raw, unsalted walnuts
2 tbs. organic, raw honey
2 tsp. pure vanilla extract
2 tbs. melted, coconut oil
1/4 tsp. salt

Instructions

In a high~powered blender (I used a Vita~Mix) blend all ingredients to a desired texture.

Store in airtight container in refrigerator.

Yield

Approximately 8 oz. or 1 cup

Hope you enjoy this little treat as much as we I did! LoL


Thursday, October 12, 2017

Cookie Dough Bites...


I grew up eating raw cookie dough and still love it to this very day! If the truth be told, I probably prefer the raw dough over the actual baked cookie. I also passed that trait along to my two daughters. I can remember years ago, just keeping raw dough in the refrigerator for us to scoop a spoonful from time to time.

 I found this recipe a few months back while obsessing over all the pretty and yummy photos on Pinterest.  This recipe comes from an amazing food blogger and author, her name is Marina of the Yummy Mummy Kitchen. I actually have been following her for years now. Her photos, recipes, sweet girls and trips to Italy are amazing.  She even has a chicken coop! Ugh... My dream come true...

These no~bake vegan chocolate chip cookie dough bites are ready in minutes! They are made with just seven real and pure simple ingredients.

Ingredients

1 cup almond flour
1 cup unsweetened shredded coconut
1/8 tsp. sea salt
1/4 cup plus 1 tbs. maple syrup
1/2 tsp. pure vanilla extract
1tbs. melted coconut oil
2 ~ 3 tbs. mini chocolate chips (Enjoy Life brand reccommended)

Instructions

In a large bowl, stir together the almond flour, unsweetened shredded coconut (if you are using a larger shredded coconut pulse in a food processor first, until finely ground) and salt. Then add your maple syrup, vanilla extract and melted coconut oil. Stir until a dough forms. Then add your mini chocolate chips. Continue to stir until mixed well. If by chance your dough is too dry to stick together you can add 1 tsp. of water.

Now your ready to roll your dough into tablespoon sized balls. 

Store in airtight container in refrigerator.

Yield

10 dough bites

Prep Time

15 minutes

Hope you enjoy these little treats as much as we do!


Friday, October 6, 2017

Brussel Sprouts Salad with Chicken...


Welcome to my first blog post in over three years!

I have been thinking for awhile now,  that I wanted to start blogging again! About all the things that I love and for those of you that already know me. You know I love to read cookbooks & recipes like it's a fabulous old novel.  I know I know... Sounds a bit strange, but when I stumbled upon this recipe, it sounded way too yummy not to try it!

We had this Brussel Sprouts Salad with Chicken for dinner a couple of nights ago (loved it), then for the next two days, I brought the leftovers to work for my lunch. Still loved it and so did a couple of my co~workers!

So... With that being said, I felt the need to share this recipe with you! I found the recipe in September's issue of my Clean Eating Magazine. Just click on the link and it will take you right to the recipe.

Hope you enjoy this dish as much as we did!