Showing posts with label Recipes. Show all posts

Tuesday, February 7, 2023

Cranberry Orange Granola...


I can't believe it has been five years since I wrote a blog post!

Who am I?!  
Thinking I can actually figure out how this all works again is insanity... LoL

Do you love granola? Me too!

This recipe is super easy & you know exactly what all the ingredients are that you will be eating. 
NOT  like in the store bought ones.

Ingredients

2 cups whole rolled oats

1/2 cup chopped walnuts
1/2 cup sliced almonds
1/2 cup unsweetened coconut flakes, optional
Zest of 1 medium orange
1 teaspoon cinnamon
1/2 teaspoon Himalayan salt
2 tablespoons melted coconut oil
1/4 cup maple syrup
2 tablespoons creamy almond butter
1/2 cup dried cranberries

Instructions


Preheat your oven to 300 degrees F & line a cookie sheet with parchment paper.

In a medium bowl, combine all ingredients & mix well. 

Pour onto your lined cookie sheet & spread out evenly.

Bake for 30 minutes, stirring halfway. Your time could be a little more or a little less. Depending on your oven. Keep a close eye on your granola after about 20 minutes. You want the granola to be a lightly golden color. The granola will crisp up as it cools. 

Store in airtight container for 2~3 weeks.

I will definitely be making this again! 

Let me know how your granola turns out & if you have any questions, please ask me!


Saturday, March 17, 2018

A Delicious White Cake...


This is a white cake recipe, that I swear will become YOUR all time go to!
It's that delicious and has become MY all time go to. I don't even think about trying another recipe to see if it's better. This one is that yummy!

What's funny about this little recipe... Is that my sweet husband is the one that wanted to try this recipe in the first place, not me! The original recipe is from, The Joy of Cooking. We just altered a couple of ingredients. What we actually did was make one cake with cake flour and we tried another cake with bread flour to see which was better.

This is what we found... BOTH were delicious, but the one made with cake flour was light and fluffy and the one made with bread flour was heavy and dense. No one could decide which was better or which one was their favorite!


Have all your ingredients at room temperature. Preheat your oven to 375 degrees F. Grease and flour three 8" x 2" round pans.

Sift together twice:

3 1/2 cups sifted cake flour OR sifted bread flour

1 tablespoon plus 1 teaspoon baking powder

1/2 teaspoon salt

And set off to the side.


Combine:

1 cup milk

1 teaspoon vanilla extract if using cake flour ~ 1 1/2 teaspoon if using bread flour

And set off to the side.


In a large bowl, beat until creamy, about 30 seconds:

1/2 pound (2sticks) unsalted butter

Gradually add and beat on high speed until lightened in color and texture, 3 to 5 minutes:

1 2/3 cups white granulated sugar


Add in the flour mixture in 3 parts, alternating with the milk mixture in 2 parts, beating on a low speed and scraping the sides of the bowl with a rubber spatula when necessary.


In another large bowl, beat on medium speed until soft peaks form:

8 large egg whites

3/8 teaspoon cream of tartar

Gradually add, beating on high speed:

1/3 cup white granulated sugar

Beat until peaks are stiff but not dry. Use a rubber spatula to fold 1/4 of eggs whites into the butter mixture, then fold in the remaining egg whites. 

Divide the batter among the pans and spread evenly. Bake until a toothpick inserted into the center comes out clean, about 25 minutes. Let cool in the pans on a rack for 10 minutes. Slide a thin knife around the cake to detach from pans. Invert the cake and let cool right side up on the rack.  Put parchment paper on your rack, so the cake doesn't get any lines from the rack.


You need to cut the tops of the cake off with a serrated knife. This will make the cakes stack nicely on top of each other.


That would be the tops of the cake, that I couldn't stop eating! Yum...


After you get the top cut off your cakes. Stack them, with parchment paper in between each layer. This way the layers won't stick together and crumble when your ready to decorate your cake. 

 Place the cakes in the freezer for a few hours or over night. You want your cake to be cold when frosting and you want your frosting to be at room temperature. Trust me on this. You do not want to decorate your cake with cold frosting or a room temperature cake!


When decorating any cake I find if you place your cake | cake stand on a lazy Suzanne it's so much easier to decorate. If you didn't already know this, You are going to think I'm your new best friend!


I hope you try this recipe and please let me know what you think. 

If you have any questions, just ask me!


Friday, March 9, 2018

Sugared Berries...


Hello...  My other name is, "Procrastination at its Finest."
Have we met before?!

One of the reasons I'm telling you this little secret about me...
Is I absolutely love the look of sugared berries and have wanted to try making them for many many many years now! When I say MANY, I'm seriously thinking probably way over 25 years! Now that's some crazy a.. procrastination! Right?

So when I decided I was going to make a Naked Cake {which I never have made before} for my oldest daughters birthday. I needed something very pretty for the top of the cake and fresh flowers with sugared berries won!


Ingredients

Fresh blueberries, raspberries and or blackberries

Egg whites

Granulated sugar

Two small bowls | fork and spoon

Parchment paper or a silpat mat


Instructions

Whisk the egg whites for about 30 seconds.

Then just gently drop your berries into the egg whites, scoop out with a fork, so the extra egg whites will drip off.

Then place berries in your granulated sugar and completely coat them with the sugar.

Place on a tray that is lined with parchment paper or a silpat mat to dry.

The drying time depends on the size of your berries and the thickness of the egg whites and sugar.

I made mine the day before I needed them and that worked out perfect.

The berries really only stay good for about 24 hours | While drying place in a cool area | Do not refrigerator.


These sugared berries are super easy to make and the crunchy little coating makes them even more delicious!

I definitely will be making these again, to go on top of some pretty summer desserts.  Let me know how your sugared berries turn out and if you have any questions, please ask!


Saturday, March 3, 2018

HomeMade Buttercream Frosting...


I love cake, but I love frosting even more!  So with that being said,  I have spent the last three hours researching on the internet all the tips, tricks and recipes for a delicious buttercream frosting.

My oldest daughter, Lindsey Nicole has a birthday coming up (she too, loves buttercream frosting) and I want to make her a really pretty and yummy birthday cake from scratch.  After scrolling through Pinterest, looking and dreaming over all the beautiful cakes, I decided I would try my skills at making a Naked Cake.  

Lets talk about the buttercream frosting for now though. The Naked Cake Shenanigans will be my next blog post.


This is what I learned through all my reading this morning...

Buttercream frosting (BCF)  is the frosting of choice for most beginner and professional cake decorators, you may use this creamy deliciousness in the cake fillings, exterior coverings and piped decorations. This simple BCF will form a crust due to the high sugar content, but will be lovely and soft on the inside.

With the proper storage, you may store your BCF for several months! If you don't plan on using your BCF immediately, then put in an airtight container and place in refrigerator. Avoid placing next to strong fragrant foods, such as fish/onions. There is a chance your BCF could absorb those not so desired scents. Yuck! BCF will keep safely in the refrigerator for six weeks and the freezer for as long as three months. When ready to use, transfer from the freezer to the refrigerator to thaw overnight.  Remove BCF from the refrigerator to allow it to come to room temperature before using. You can restore the BCF to its original consistency by stirring with a spatula/spoon. This process works best when the BCF is at room temperature.


Ingredients

4 sticks or 2 cups unsalted butter, room temperature

8 cups powdered sugar

1/2 tsp. salt

2 Tbsp. heavy whipping cream, more if needed for desired texture

3 tsp. clear vanilla extract

Instructions

Beat the room temperature butter on a medium speed for about 30 seconds with the paddle attachment (if using a kitchenAid mixer) until smooth.

Slowly add in the powdered sugar, 1 cup at a time.  Alternate with small splashes of your heavy whipping cream.

Once your BCF is fully mixed, add in the clear vanilla extract/salt and beat on low until the ingredients are completely mixed and the desired consistency is reached. If your BCF is too thick, add more heavy whipping cream, 1 tsp. at a time. If your BCF is too thin, add a little more powdered sugar, 1/4 cup at a time.

Extra Tips For Successful Buttercream Frosting

Again... Make sure butter is at room temperature and all the lumps are completely beaten out before you add your sugar. Also add sugar a little at a time.

Try not to over~beat your BCF after all ingredients are added, because you might add bubbles, which could ruin the texture.

If you want a snowy white BCF, you have to use a professional quality shortening and clear flavors. Butter and pure brown vanilla extract will create a pale ivory frosting, instead of your snowy white.

If you are tinting you BCF it is important to let sit for at least 3~4 hours before using, because the colors will deepen over time. If you decorate your cake/cupcakes before ~ it's too late to adjust the colors, if it's not what you wanted!

Using powdered coloring is best. Liquid or gel can sometimes ruin the texture of you BCF.

Use professional quality shortening, if you aren't using butter! It gives you a very nice non~greasy texture. Standard vegetable shortening is NOT ideal to achieve the best results.


Hope you love this buttercream frosting as much as we do!


Friday, November 17, 2017

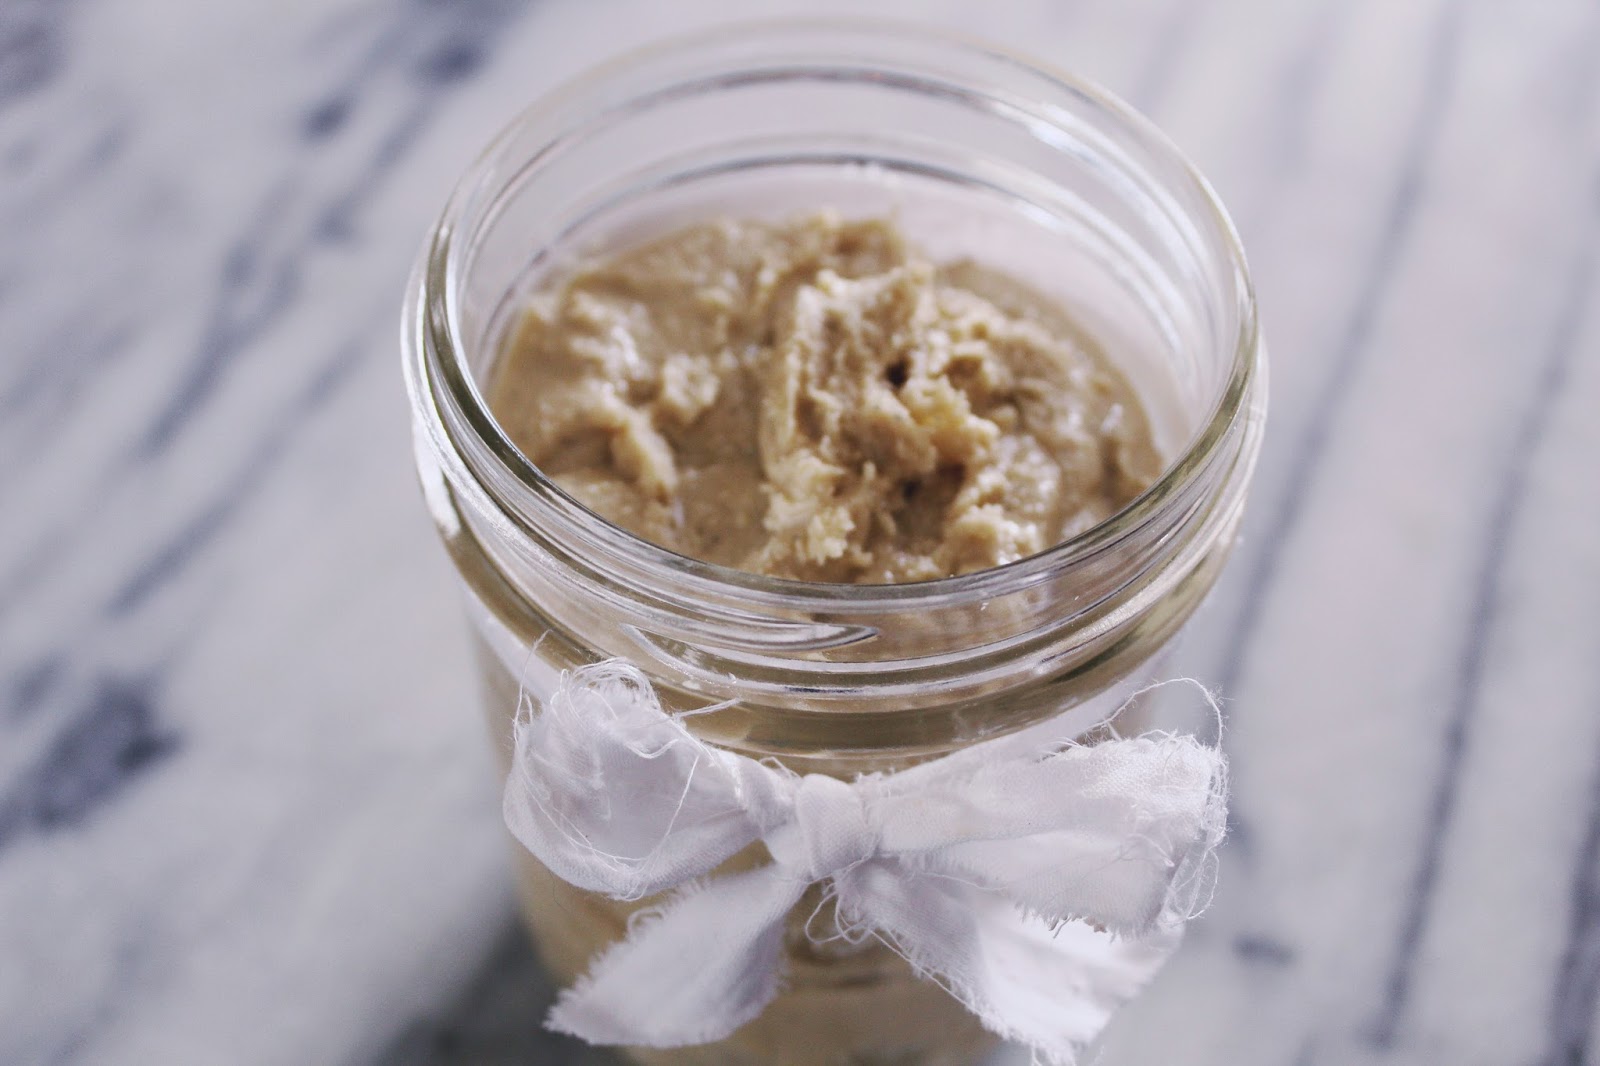
HomeMade Cashew Butter with Vanilla Bean...


I have been totally obsessed with making my own nut~butters lately. Not sure if it's because it's way cheaper than buying ready made or if it's just a fun science project.
My first attempt was with a walnut butter, but now I have to say, I like this cashew butter better. Try saying that a few times in a row! Cashew butter better cashew butter better cashew butter better... 
Ok that's enough! You get where I was going with that. Right?
Maybe the reason I like this butter better is because cashews definitely don't have that lingering after taste that the walnuts have.


This is a fast ready in minutes recipe. There are just five simple ingredients!

Ingredients

16 oz raw whole cashews, mine were from Trader Joe's
2 tbs. melted/organic coconut oil
1/2 tsp. vanilla extract
1 vanilla bean, all the seeds from inside
1 pinch of pink Himalayan salt

Instructions

In a high~powered blender (I used a commercial strength food processor) blend all ingredients to the desired texture. 
Total time for me was about 15 minutes. Stopping periodically to scrap the sides and do a little taste testing. This is where you can add more coconut oil, if your butter seems a little dry and more Himalayan salt if you think it's needed.

Yields

Approximately 12 oz or 1.5 cups


Notes

You can use roasted cashews, if you prefer. The flavor will be a bit more intense than using the raw cashews.

Store in airtight container in refrigerator.

 I actually keep ours on the kitchen island because we like that smooth creamy texture better! I'm also guilty of just eating it right off the spoon! Yum...

It will last longer in the refrigerator, but ours goes pretty quickly around here. So no need to refrigerate. 

It will stay good for one month on your counter or three months if kept in refrigerator.

Using the seeds from a vanilla bean really does give it an amazing flavor. Almost like a cookie dough  flavor! Omg yum...


Hope you will enjoy this cashew butter as much as we do!


Wednesday, October 18, 2017

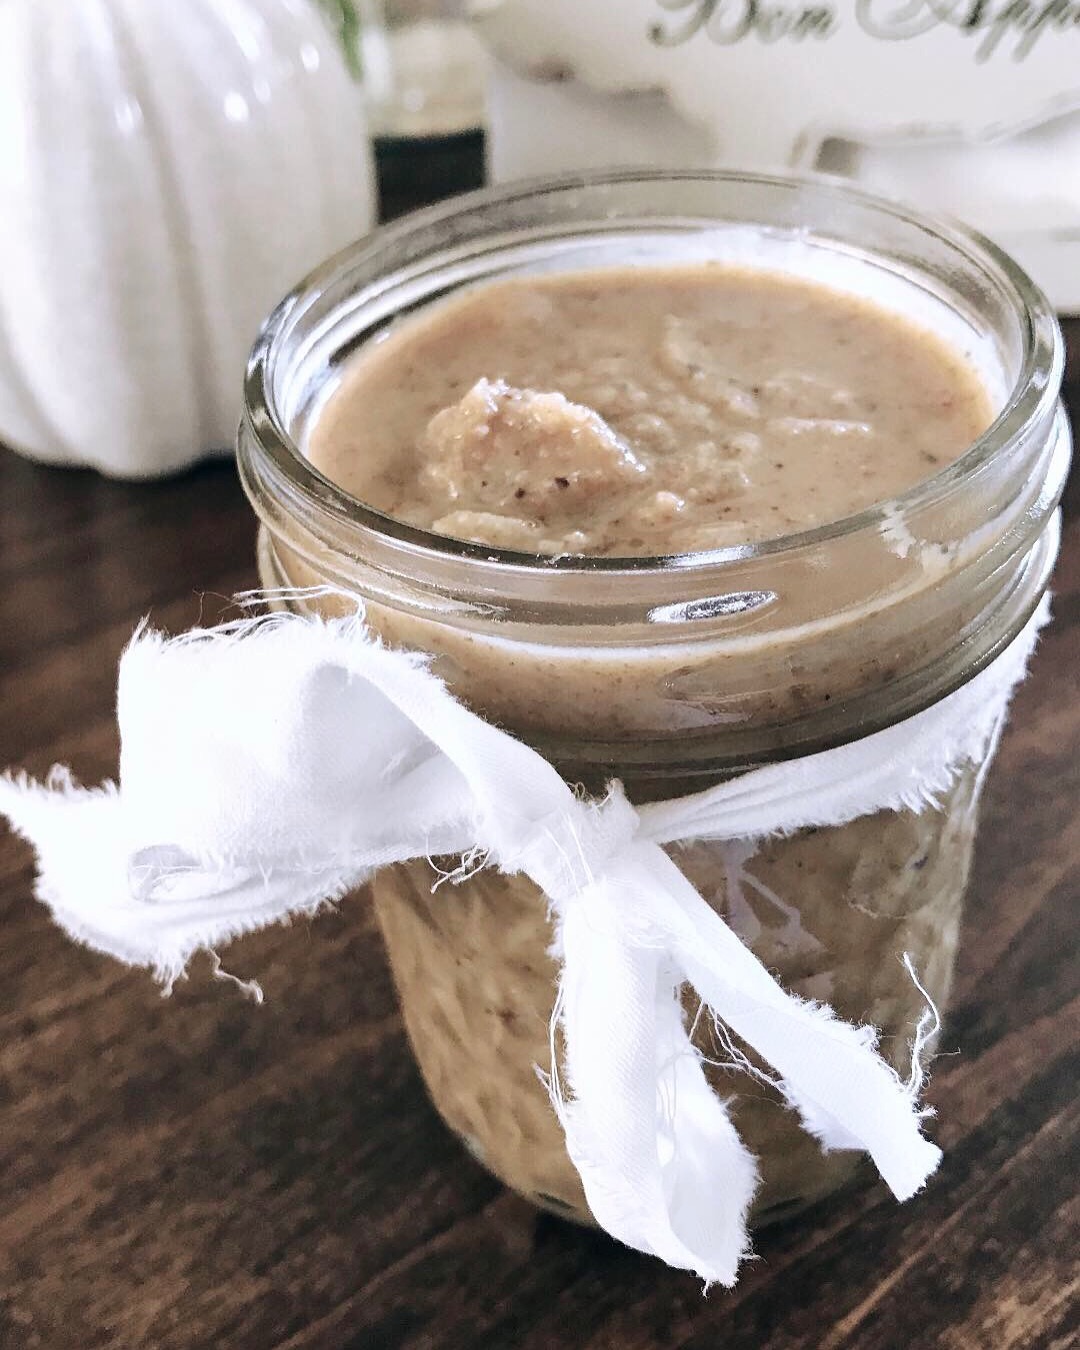
HomeMade Walnut Butter...


For awhile now, I have been really wanting to make my own almond, cashew and/or walnut butter. 

I know a lot of people (my husband being one of them) are not big lovers of walnuts. They have this lingering after taste, that you just might not like. I don't mind it, but I do know what they are talking about.

But here's the thing about walnuts... That make them a fabulous nut to choose. Walnuts are rich in Omega~3 fats and antioxidants! Walnuts also have the ability to improve your metabolism, help in controlling diabetes and help as a mood booster.  I'm thinking we all could use a little bit of help in that department. Because life can be really hard at times. 

You can't go wrong in choosing walnuts to eat as a snack, sprinkle on a salad or just making a walnut butter to go on your apples or toast in the morning. Maybe even try spreading walnut butter on a rice cake with chopped apples on top and sprinkled with cinnamon. Yum!


The little hand~stamped peanut butter knife is available in my Etsy Shop!


This is a fast ready in minutes recipe. There are just five simple ingredients!

Ingredients

2 cups raw, unsalted walnuts
2 tbs. organic, raw honey
2 tsp. pure vanilla extract
2 tbs. melted, coconut oil
1/4 tsp. salt

Instructions

In a high~powered blender (I used a Vita~Mix) blend all ingredients to a desired texture.

Store in airtight container in refrigerator.

Yield

Approximately 8 oz. or 1 cup

Hope you enjoy this little treat as much as we I did! LoL


Thursday, October 12, 2017

Cookie Dough Bites...


I grew up eating raw cookie dough and still love it to this very day! If the truth be told, I probably prefer the raw dough over the actual baked cookie. I also passed that trait along to my two daughters. I can remember years ago, just keeping raw dough in the refrigerator for us to scoop a spoonful from time to time.

 I found this recipe a few months back while obsessing over all the pretty and yummy photos on Pinterest.  This recipe comes from an amazing food blogger and author, her name is Marina of the Yummy Mummy Kitchen. I actually have been following her for years now. Her photos, recipes, sweet girls and trips to Italy are amazing.  She even has a chicken coop! Ugh... My dream come true...

These no~bake vegan chocolate chip cookie dough bites are ready in minutes! They are made with just seven real and pure simple ingredients.

Ingredients

1 cup almond flour
1 cup unsweetened shredded coconut
1/8 tsp. sea salt
1/4 cup plus 1 tbs. maple syrup
1/2 tsp. pure vanilla extract
1tbs. melted coconut oil
2 ~ 3 tbs. mini chocolate chips (Enjoy Life brand reccommended)

Instructions

In a large bowl, stir together the almond flour, unsweetened shredded coconut (if you are using a larger shredded coconut pulse in a food processor first, until finely ground) and salt. Then add your maple syrup, vanilla extract and melted coconut oil. Stir until a dough forms. Then add your mini chocolate chips. Continue to stir until mixed well. If by chance your dough is too dry to stick together you can add 1 tsp. of water.

Now your ready to roll your dough into tablespoon sized balls. 

Store in airtight container in refrigerator.

Yield

10 dough bites

Prep Time

15 minutes

Hope you enjoy these little treats as much as we do!


Friday, October 6, 2017

Brussel Sprouts Salad with Chicken...


Welcome to my first blog post in over three years!

I have been thinking for awhile now,  that I wanted to start blogging again! About all the things that I love and for those of you that already know me. You know I love to read cookbooks & recipes like it's a fabulous old novel.  I know I know... Sounds a bit strange, but when I stumbled upon this recipe, it sounded way too yummy not to try it!

We had this Brussel Sprouts Salad with Chicken for dinner a couple of nights ago (loved it), then for the next two days, I brought the leftovers to work for my lunch. Still loved it and so did a couple of my co~workers!

So... With that being said, I felt the need to share this recipe with you! I found the recipe in September's issue of my Clean Eating Magazine. Just click on the link and it will take you right to the recipe.

Hope you enjoy this dish as much as we did!


Saturday, August 6, 2011

A French Onion Pot Roast (Slow Cooker)...


I must say... I really do love my slow cooker! It's probably one of my favorite appliances. Right next to my blender, for making Pina Coladas. My Keurig, for coffee every morning and fresh brewed tea in the afternoons. Oh yes, and my Kitchen Aid Mixer of course! Ok..ok... I have four favorite appliances! Now that I have figured that out ~ I will tell you it is so easy to throw a complete meal in the slow cooker. I do this sometimes in the morning before going to work or just if I'm going to have a busy day. This slower cooker of mine... also, has the capability to make me feel like a really good mother for that day! The reason being is because the days that I work, I usually don't get home until after 8pm. So... My girls are thrilled to have a nice hot meal to help themselves to... 


Ingredients...
  • 3~4 pounds boneless beef chuck roast
  • 3 tablespoons all purpose flour
  • 1 teaspoon salt
  • 1/4 teaspoon black pepper
  • 1/4 teaspoon meat tenderizer
  • 1~2 tablespoons vegetable oil
  • 2 celery stalks, trimmed and cut into small pieces
  • 4 carrots, washed and cut into thirds
  • 2 medium sized potatoes, cut into small pieces
  • 3 fresh garlic cloves minced
  • 10.5 ounce can french onion soup, condensed (I use Campbell's)
  • 1/2 to 3/4 can of water
Directions...
  • Mix flour, salt, pepper and meat tenderizer together in a small bowl.
  • Trim any fat off the sides of the roast and rinse with water. Pat dry with paper towels. Add flour mixture to cover the roast.
  • Heat 1-2 Tbsp of oil in a non-stick or cast iron skillet on medium to medium high heat for 3-4 minutes. Add roast to heated pan and heat to sear for 2-4 minutes on each side. (Add more oil if needed and lower heat if necessary.)
  • Add carrots, celery, potatoes and fresh garlic to the bottom of the slow cooker and add roast on top of the vegetables. Add french onion soup and 1/2 to 3/4 can of water to the slow cooker.
  • Cook roast in slow cooker on low for 10 hours or high for 5 hours.
Sometimes you just can't get any better than "Comfort Food..."                  
                                                                                Ps...The day after I made the pot roast I was putting away the slower cooker. It actually lives next to my blender in a cabinet. When pulling out the blender I dropped it on the floor for it to shatter into many pieces... Ugh! 
XoXo,


Modified from " The Little Kitchen " French Onion Pot Roast recipe...

Thursday, May 5, 2011

Roasted Brussels Sprouts with Balsamic, Parmesan, and Pine Nuts...

I am in a constant search for healthy and/or vegetarian dishes to make for Lauren. In fact, I'm always reading cookbooks like most people read novels, and if there are pictures, I'm in total Heaven. Kinda silly huh?! 
Lauren really is a good sport about trying anything and everything I make for her, and she did like this side dish. Lindsey on the other hand, did not! She very quickly came to the conclusion that I was trying to poison her, when I gave her my diet root beer to wash "the not so tasty" bite down. She does not like any diet drinks at all! Sorry Lindsey! 
I normally do not like brussel sprouts myself, but loved these and so easy to make...


 Ingredients...
  • 1 lb. brussel sprouts, trimmed and cut into quarters
  • 3 Tbls. garlic olive oil
  • 1 Tbls. balsamic vinaigrette
  • 2 Tbls. freshly grated Parmesan cheese
  • 2 Tbls. pine nuts, toasted

Directions...
Preheat oven to 450 F. Trim brussel sprouts, remove any discolored leaves, and cut into quarters (or halves if they are small.) Put sprouts in mixing bowl and toss with olive oil and balsamic vinaigrette.

Cover roasting pan with foil if desired, and spray with non-stick spray if needed. Arrange sprouts in a single layer on roasting pan, and roast 20 minutes, turning occasionally, or until sprouts are slightly crisp and golden brown on the edges.

When sprouts are nearly done, toast pine nuts in a dry pan about 2-3 minutes, until barely starting to brown. (Be careful, they can go from lightly brown to overdone quite quickly.) Put cooked sprouts back into mixing bowl and toss with Parmesan cheese. Arrange on serving plate and sprinkle with pine nuts. Serve hot. Makes 3-4 servings.

XoXo,